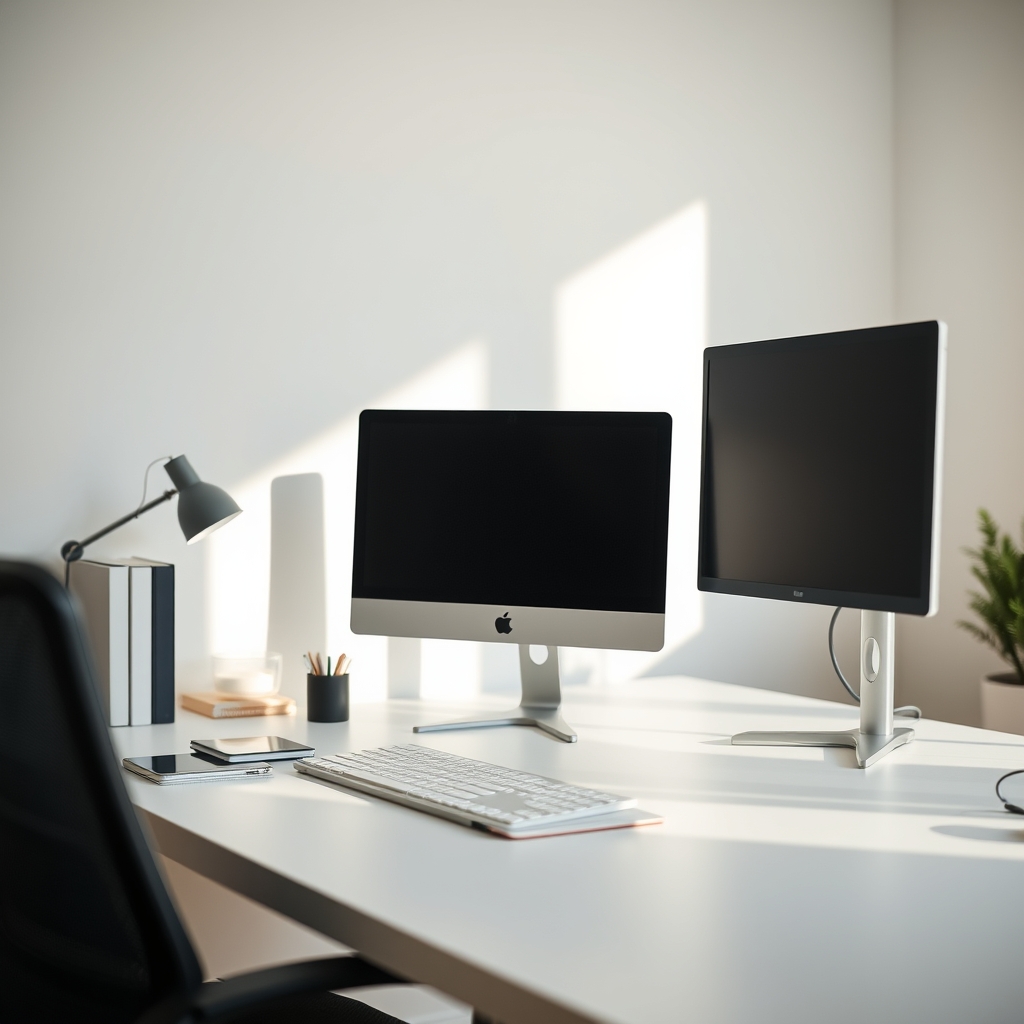
Most desk eye strain is a placement problem, not a panel problem
When your eyes start burning at 4pm, the instinct is to shop for a new monitor. Three variables decide most of the outcome: eye-to-screen distance, screen height relative to eye level, and room brightness compared with the display. Standards cover all three, and all three can usually be fixed without replacing anything. What follows is the geometry those standards specify, the purchases that change it, and the labels that do not.
Distance: measure it once, then design around it
Workstation ergonomics standards, including ANSI/HFES 100 (Human Factors Engineering of Computer Workstations), call for a minimum viewing distance of 20 inches (508 mm) from eyes to screen. General ergonomics guidance commonly puts the comfortable working range at roughly 20 to 28 inches (508 to 711 mm). Bigger panels sit better at the far end, because you would otherwise sweep your head across the image; smaller displays and low-density text sit better nearer the middle.
Measure it the boring way. Sit in the posture you actually work in and run a tape from the bridge of your nose to the screen surface, not from the front edge of the desk. Desk depth is not viewing distance. On a 600 mm deep desk, if your eyes sit about 250 mm behind the front edge and the panel is pushed to the back edge, the viewing distance is roughly 350 mm, well under the 508 mm minimum.
The common failure is a shallow desk. Even with the screen as far back as it goes and the keyboard at the front edge, an older laptop panel can sit only 400 to 500 mm from your eyes. If you cannot move the screen further away, increase text size rather than leaning in. Legibility is a product of distance and character size together, so scaling type up is the cheaper fix when the geometry will not move.
Seat height sets how high your eyes sit, and therefore where the screen has to be, so the chair is part of this measurement. Check that a chair's seat-height adjustment range spans your popliteal height, the floor-to-back-of-knee measurement that lets your feet sit flat. The BestOffice Ergonomic Mesh Office Chair may suit a buyer who needs a height-adjustable mesh chair, but confirm that the published seat-height range covers your measurement before weighing armrests or lumbar marketing.
Height and angle: the top bezel rule, and the number underneath it
The same workstation standard places the top of the screen at or slightly below eye level and puts the screen centre roughly 15 to 20 degrees below horizontal eye level. Most people get the first half right and ignore the second.
Run the arithmetic once. At a 600 mm viewing distance, a downward angle of 15 to 20 degrees puts the screen centre roughly 160 to 220 mm below your eyes. If the middle of your panel is level with your nose, you are outside that band even though the top bezel looks correct. Lower the screen, or raise your seat slightly, and measure again.
A monitor whose stock stand offers height, tilt, swivel and pivot can hit the band with no purchase. A stand that only tilts usually cannot, and you spend the day compensating with your neck. That gap is where an arm earns its cost, not the promise of a tidier desk.
If a new arm is not in the budget, the no-cost moves are the ones you already have: raise the seat and add a footrest so your feet stay supported, tilt the panel back slightly, and re-measure before concluding you need to buy anything.
The MOUNTUP Dual Monitor Desk Mount may suit someone mounting two similarly sized monitors on a desk that accepts its clamp or grommet, provided each monitor with cables attached falls under the published per-arm capacity. Check three figures before ordering: the VESA pattern it accepts (75 x 75 mm and 100 x 100 mm are the common interfaces defined in the VESA Mounting Interface Standard), the per-arm weight capacity against each monitor with cables, and the desk thickness and edge profile its clamp or grommet can grip. Gas spring arms move smoothly but can lose tension over time; mechanical spring arms tend to hold their setting longer and feel less fluid.
Skip an arm if your existing stand already adjusts and your viewing distance sits inside the range, if your desk has a glass top or a deep bevel a clamp cannot grip, or if your monitors differ enough in weight that one shared base will fight you. Two single arms are usually the better buy then.
Lighting: match the room to the screen
ISO 9241-6:1999, the work environment guidance for screen-based work, addresses ambient lighting and glare: surrounding luminance should be balanced with the screen, and direct glare on the screen avoided. Most home offices fail the glare half first.
There is a free test. Switch the monitor off and look at the dark panel. If you can see the bright rectangle of a window or a ceiling light reflected in the glass, that reflection sits in your field of view all day. Rotating the desk so the screen is perpendicular to the window, and moving a lamp out of the reflection path, fixes more complaints than any panel upgrade.
For brightness, hold a sheet of white paper beside the screen under your normal room lighting and adjust the display until a blank white document reads close to the paper. Repeat in the evening. A level that feels right at noon is usually too high at 9pm, and the mismatch is what makes a screen feel like a torch.
If you use a desk lamp, adjustable brightness, a colour temperature range of roughly 2700K to 6500K, and a diffuser will do more than raw lumen output. Check the clamp opening range against your actual desk thickness and edge profile, because bevelled or lipped edges do not always accept a clamp.
Breaks: the 20-20-20 rule, and where people cheat it
The American Optometric Association's 20-20-20 guidance is to look, every 20 minutes, at something at least 20 feet away for at least 20 seconds. Twenty feet is about 6 metres, and the point is to release the ciliary muscle that holds near focus.
The distance is where the rule quietly fails. The far wall of a small home office, three metres away, is not 20 feet. Pick a specific target before you start working, a tree through the window or a building across the street, and use that one. Reminder software helps some people, but its value depends on whether you comply, and no standard certifies how well any of it works.
Screen height feeds into this too. A screen set too high can expose more of the eye surface between blinks, which may worsen dryness. Reminders will not compensate for a screen that is 100 mm too high.
Which specifications are worth paying for
Priority order for most buyers: adjustability first, then flicker behaviour, then blue light.
Claims about low blue light vary in what they actually verify. TÜV Rheinland's Low Blue Light certification under 2 PfG 2383/06.2016 is one way to check the claim rather than trust the sticker. A flicker-free claim without independent testing may mean little; TÜV Rheinland's Flicker-Free certification verifies low flicker. Eye care is a marketing phrase with no fixed meaning, though the broader TÜV Rheinland Eye Comfort certification covers flicker, blue light and glare. Ask the seller for the certificate number and verify it on TÜV Rheinland's site before paying extra for any of it.
One trade-off worth naming: reducing blue light shifts on-screen colour. If you edit photos or grade video, that shift is a real cost, and you want a display where the reduction can be turned down or off independently.
Buying checklist
- Measure eye-to-screen distance while seated in your working posture. Below 508 mm, fix that before buying anything.
- Check the monitor's own stand for height, tilt, swivel and pivot. If it reaches the 15 to 20 degree band, an arm buys space rather than comfort.
- Before buying an arm, try the free moves: raise the seat with a footrest under your feet, tilt the panel back slightly, and re-measure.
- Buying an arm? Confirm VESA pattern, per-arm capacity above each monitor's weight with cables, and the desk thickness and edge profile its clamp accepts.
- Choose gas spring for smooth movement, mechanical spring for a setting that tends to hold over years.
- Buying a chair at the same time? Check its seat-height range spans your popliteal height.
- Switch the monitor off and clear any visible window or lamp reflection in the panel before adjusting anything else.
- Match screen brightness to a sheet of white paper under your room light, morning and evening.
- For a lamp, prioritise adjustable brightness, a 2700K to 6500K range, a diffuser, and a clamp that fits your desk edge.
- Request the TÜV Rheinland certificate number behind any low blue light, flicker-free or eye comfort claim.
- Pick your 20-20-20 target, at least 20 feet (about 6 metres) away, before you start work tomorrow.
Sources and further reading
- ANSI/HFES 100, Human Factors Engineering of Computer Workstations (viewing distance, screen height and angle)
- ISO 9241-6:1999, work environment guidance for screen-based work (ambient light, glare)
- VESA Mounting Interface Standard (MIS) for mounting hole patterns
- American Optometric Association, 20-20-20 break guidance
- TÜV Rheinland 2 PfG 2383/06.2016 and its Low Blue Light, Flicker-Free and Eye Comfort certification programmes